Showing posts with label Ageless. Show all posts

Monday, June 17, 2019

Edwardian Madness - Ageless #1344

Ageless Patterns had a sale in April to celebrate their  birthday and I couldn't resist.

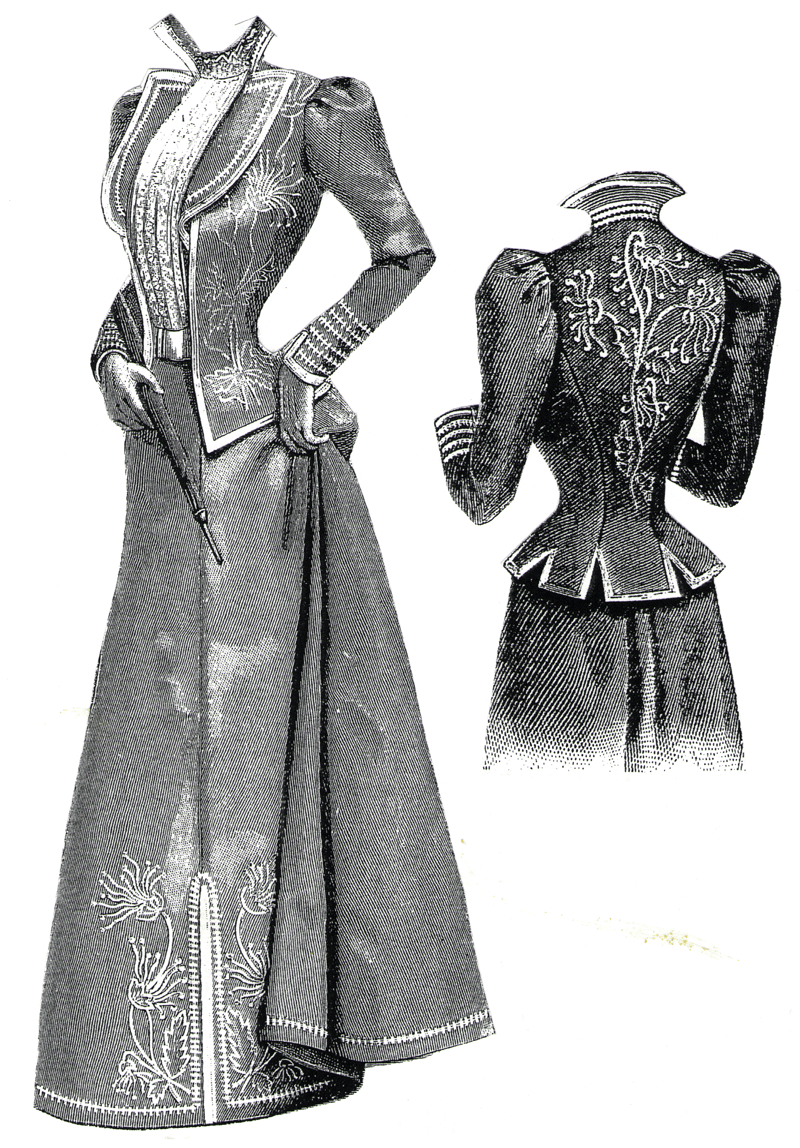
Firstly I was already looking at there patterns for an outfit for an 1899 outing in December and secondly I am a sucker for sales!!.  I end up with 3; #1315 from 1892, #1389 from 1898, and #1344 from 1912.


My original plan was to make the 1389 for a tram anniversary in  December and the others were just to make postage viable and take advantage of the sale.  However when a steam train ride to Kiama appeared on my Facebook feed and a friend in the Historical Picnic Society decided to organise the troops the 1912 jumped the queue.

Planning Process
This pattern says (and Ageless even checked there original for me) it is a 40" bust and a 27.5" waist.  I made up a trial knowing that I would not ever corset down to a 27.5 at the moment expecting to resize.  In the end it actually fit my 40"/30" amazingly well with zero alterations.  I can't explain this but don't look a gift horse in the mouth.

Ageless patterns do take more planning than many others due to the lack of instructions.  Ageless do not pretend to be anything more than a reproducer of the original pattern with original instructions.  Thus it is important to remember going into this that no one will hold your hand, "finish in the usual way" was a very valid instruction for the Victorian and Edwardian times when sewing was much more widespread and people just knew how to do those things.  Given that i rarely actually follow instructions this isn't a huge hindrance to me but I understand it may be to others.

These instructions seemed even more vague than usual, possibly as the original is in french and Ageless have translated as best they can.  Both English and French are included so if you do speak both perhaps it would be easier for you.  The biggest issue I had was was the closure none of those instructions made any sense nor did the pattern pieces that came intuitively give you a closure point.  Instructions say that bodice closes at center back, and that the first few buttons on the front are functional but with no center back seam on the skirt there was no place for the waist band to open.  I decided after consulting many online groups to add a center back seam and go from there.  This has worked though I can't say I am a fan of the hook and eye closure and will be de-historifying it with a button covered zip in the near future.

Another point to be aware of is that the entire over bodice is one huge pattern piece with some deceptively simple shaping techniques for the sleeves and the side seam. 


In short ease the dart in the sleeve part, sew small darts into the underarm/underbust/side seam area.  Line up sleeve ends and side seam bottom pull straight and sew one continuous seam. 


Took some fiddling but this was worked out in trial stages.  Not doing this will cause the arm to twist oddly.


Fabric Choice:
Knowing that this dress would be for winter - specifically for this train trip I wanted a warmer fabric than the suggested taffeta.  After much deliberation I decided that despite my wool allergy a wool or wool like would be best and due to the bodice piece issue a non plaid.  Any pattern was going to need to be small and able to conform to biases.  I thought and fiddled and searched until I happened upon a beautiful marle Oxblood mostly acrylic (yay for less allergins) from Pitt Trading.  I accented with tulle from stash, lace and velveteen from spotlight.  Lining is left over white cotton and white linen/cotton.

Buttons came from a shop in newtown that sells huge amounts of buttons in all shapes sizes and colours.  They are a black plastic with a little shine to them.


The Making:
This pattern (by fluke of fitting me) came together perfectly once I had worked out the few small issues - being the closure, the sleeves twisting and that I misinterpreted a pattern marking and cut off some of the left side skirt (yeah don't do that  - you will have to add it back later).

The fabrics were of little issue EXCEPT the tulle. It has gone straight onto the banned list and I will avoid it now like a creeper in a club.  I have to thank Angela Clayton for the inspiration to overdo the dicky adding both lace and pleated tulle.  Undeniably it looks fantastic, but it was a nightmare to control and still is.

Horrible pleating tulle
But soooo pretty

So without further ado here is the pictures of the finished dress beautifully backdropped by vintage trains.


As a side note the hat was also made - I will eventually do a post on that too - another credit to Angela Clayton.

Wednesday, January 18, 2017

A Look back at my Victorian Past Part 2 – Angela’s Dress

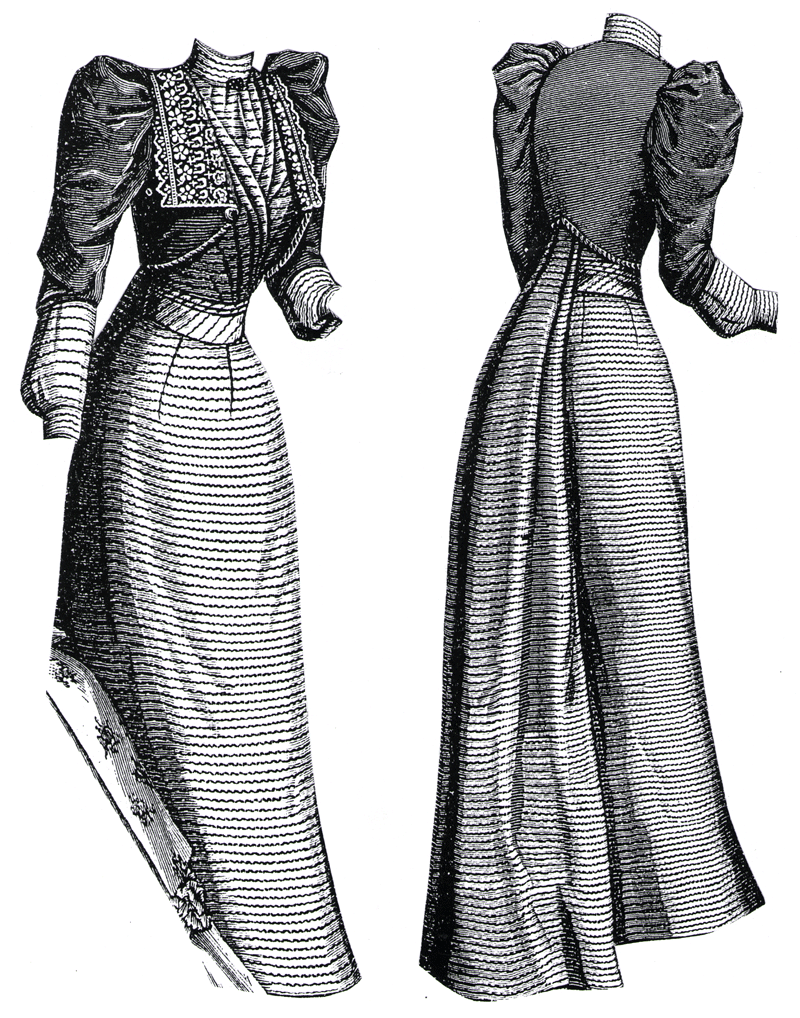
I love this dress, so much so that I am considering making one myself – I do have a plethora of emerald/forest green velveteen to use.  The one thing that holds me back is that it wasn’t the easiest pattern I have ever worked with.  Having said that I learnt a lot.


You may be asking why Ange didn’t make her own damn dress.  Well you must remember that this was some years ago and Ange was still my young apprentice at that time.  She certainly helped a lot, and probably could have managed a Truly Victorian pattern without to much issue but this is Ageless Patterns (#1478) and even for me who never really follows pattern instructions it was really hard.  We had much resizing, reshaping, and Ange even suffered a 7 day lemon detox and super tight laced corset in order to get into it.  It was a team effort because truly one person could not have suffered the frustration alone – no matter how beautiful the final product is.

I should explain that people did not have much choice in their Victorian costumes.  I did all the research bought all the patterns and assigned to each person based on what I thought would suit them best.  What they did have a say in was materials because they bought and paid for all of that.  However from the moment I saw this dress in black and white line drawing I just felt it was a deep green dress with cream inserts.  Lucky for me Ange agreed and that was what we went looking for.

She ended up with some sort of man made fabric, like a taffeta but a really cheap one.  From memory it cost about $4/m which was lucky cause that train required a lot of fabric.  The underskirt and front bodice were a cream fabric, something like a crepe I think with a stretch lace overlay.  A stretch lace that still sometime haunts the corners of my worst sewing nightmares.  The bodice was finished off with some hanging beads for some added bling.

Like I said in Part 1 – Ageless patterns are not made to be easy, they have not been resized to adhere to modern figure standards and the instructions are close to non existent.  This dress being simple, at least came with everything I needed to achieve a close to image look without to much sewing training.  In the end we not only resized pieces but also added in another two panels in the centre front.  To give you an idea of how out of modern proportion this pattern is the bust after resizing down/up would fit 36-38 inches whist the waist was 26 inches.  Yes this pattern is made to fit the proportions of a barbie doll.

As I mentioned the stretch lace was a nightmare but did add a certain bling to the final product so it was probably worthwhile in the end though “stretch lace” as a general term was added to the ever growing list of banned material.  At least the scalloped edge meant that I did not have to hem it.  All other material was fine to work with and the bodice pieces were also flatlined with the denim, again this was lucky because it meant that even if Ange didn’t technically fill out the bodice once corseted to the level needed for the waist – she at least looked like she did, since the denim held its shape.

Like I said once complete this was one of my most favourite of the Victorian costumes and I really should give it another go sometime and see if my  resizing ability has improved.

Tuesday, January 17, 2017

A look back at my Victorian past Part 1 - Hef's Costume

I realise that this blog has exclusively featured my fashion projects.  This isn't so much by design as that the blog started after I had moved out of costume making and into vintage fashion sewing.  See I used to make costumes for role playing LARP and so when I stopped doing so much LARP I also stopped making costumes.  There is actually a wealth of costumes and fashion projects that haven't made their way onto this blog for one reason or another and I intend to catch up on some of them in the coming months, starting with the Victorian stuff that I mentioned in my epic project post.

So why does one be so bat shit insane as to agree to make 6 full Victorian female outfits, 3 Victorian coats and 6 full pirate outfits all in the same few months - the answer is Role playing convention.  You have already seen details of Girlsquad's Marvel Costumes well the Victorian costumes were also for girlsquad.  Though we had already agreed to be pirates as the Con Costume, one of our favourite GM's was running a Victorian cthulu LARP and we had a reputation to uphold.

So With only about 2 months to get it all done I escorted my lovely ladies to Cabramatta in search of the right materials, ordered a bunch of patterns from Truly Victorian and Ageless Patterns.  Arranged sewing days and worked tirelessly to complete everything.

In this post I will cover the creation of the costume I wore


Bodice - Ageless Patterns #1442

This was the most challenging part of this project.  Ageless Patterns are truly vintage with little to no updating for modern terminology or fit.  I had to completely reshape several pattern pieces to make it fit my shape - the patterns original shape was that of full waist training.  I obviously altered a lot to work with what I had and the look I wanted, however many reviews will tell you Ageless Patterns do tend to leave the decorating up to you - that is the pattern included is only the base garment.  They certainly are not a pattern company for the novice or unadventurous.

Material used was some sort of polyester with a velvet burnout on it.  I had originally wanted a stripe but I saw this and thought that is exactly what I want.  I still remember it was $10/m a BIG spend for me in the days when I didn't ever spend more than $5/m.  The trim is a silk duponi that I got on MASSIVE sale because spotlight was moving to new premises.  I love the feel of the duponi and really wish I could afford to get more as it sewed like a dream and feels so luxurious.

The entire bodice is flat-lined in denim to give it enough body for the look - though there is a corset on underneath as well.  I decorating it with some hanging beads and there is a cameo on the front (photos to come once I find this in my storage clean out)

Skirt - Truly Victorian Fantail Skirt TV225

I love this skirt.  The pattern is so simple yet so effective.  Very few Pieces and came together like a dream.  It basically has a front panel, and side panels and inserted back panels that get pulled together with a drawstring to create the fantail shape.  I added horsehair braid around the hem and also added a dust cover to the train to try and protect the silk.

I can't recommend this skirt enough

Overskirt - Truly Victorian Split Pannier Overskirt TV328

I both like and don't like this pattern.  Firstly like the fantail it came together very easily and gave a good line to the natural form shape but on the other hand some of the gathering in the front seams were difficult to get sitting straight, though it may just have been the material I was using.  The Burnout didn't always drape perfectly.  I still think the final outcome looked good.

The last pattern listed is for the petticoat in which you will have to wait to hear - as I will document that as I finish the UFO that has been sitting around all this time.

I will probably add to this post once I have found the actual outfit and can take more detail photos.  But for now that's it.